Oracle BPEL Hello World
Hi, everybody! Today, I´m gonna show you how to do a hello world using Oracle´s BPEL engine. You are gonna need:
- A properly installed SOA Suite , 11g (I´m not gonna show here how to install it, but there are plenty of good stuff on this subject on the web);
- A JDeveloper 11g with SOA Extensions enabled
- A test tool named SOAP UI
So, let´s do it: start your SOA Suite and JDeveloper. Once your JDeveloper is open, right-click the applications area, as shown in the figure:
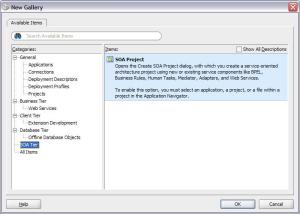
Then, select the menu “SOA Tier” and the SOA Project:
Select your project´s name and the project technology (in our case, SOA):
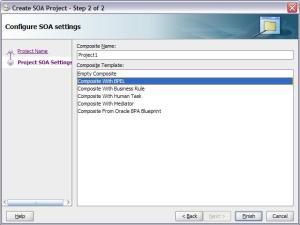
Create your project using Composite with BPEL (as it should be just a simple BPEL project; some day I will explain here what the other types are):
Select the synchronous template and mark the “expose as a SOAP service” checkbox:
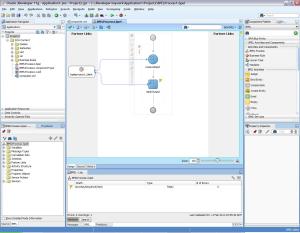
Then, you should see something similar to the image:
Click on the assign component and drag it to the diagram. You see highlighted positions; they are places where you can drop the component:
Place the assign in the proper position:
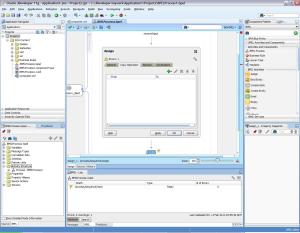
Then, double click the just-placed component. You should see an image similar to the next one:
Click the ‘plus’ icon and you will see the following options:
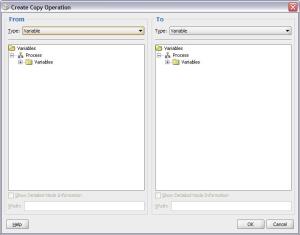
Once doing so, click the “copy operation” option. You should see the following screen:
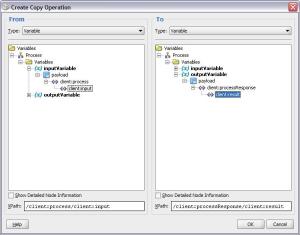
Expand both sides until you see the following screen (you should select the options, too):
Then, click OK. You will get back to the previous screen. Select the “general” tab and change the name of the operation to “AssignEcho”, like the screen:
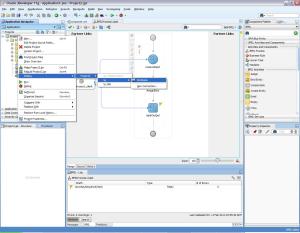
Click OK and you will get back to the BPEL Designer screen. Now, it´s time to deploy our process. Right-click your project, and you should see a menu like the following:
As you maybe don´t have a connection in place, select the “new connection” option. Then, follow the wizard:
I´m assuming here that your username is weblogic (and you know the password as well):
Also, I´m assuming here that your SOA Suite is loaded on localhost, port 7001 (or 7002 if it´s SSL), with a domain loaded to soa_domain. They are the defaults.
Then, click “test connection”. If everything is OK, you should see the “8 of 8 tests succesful” status message.
Click OK and, once again, you will get back to the BPEL Designer screen. Now, your new connection should be available on the connections list:
Click the newly-created connection and you should see the deploy screen:
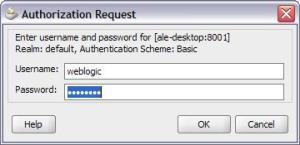
While deploying, it should ask for username and password:
Then, access the Enterprise Manager site (for me, it is available on http://localhost:7001/em). Once inputting the username and password, you should see the following screen:
Expand the selections according to the image and select your newly-deployed project:
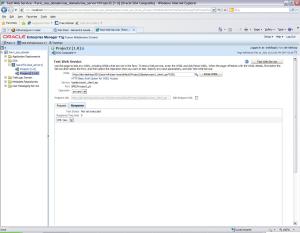
If you click the “test” button, you should see a screen like this:
Personally, I don´t like using the enterprise manager to test my services, for personal reasons. So, I´d rather using SOAP UI. Select the WSDL of your service and then, create a project in SOAP UI, like this one:
Once doing so, SOAP UI will create a screen like the following (if everything is OK, change the interrogation sign for “hello, world!” or anything like this):
If everything is OK, then you should see a screen like this:
And that´s it! Your BPEL Process is working, as it is echoing every phrase you input to it. If you want to go further, try to explore the Assign component and the others, to improve your knowledge.
See ya!

